How to Hang French Cleats (Tool Wall Storage for 100+ lbs)
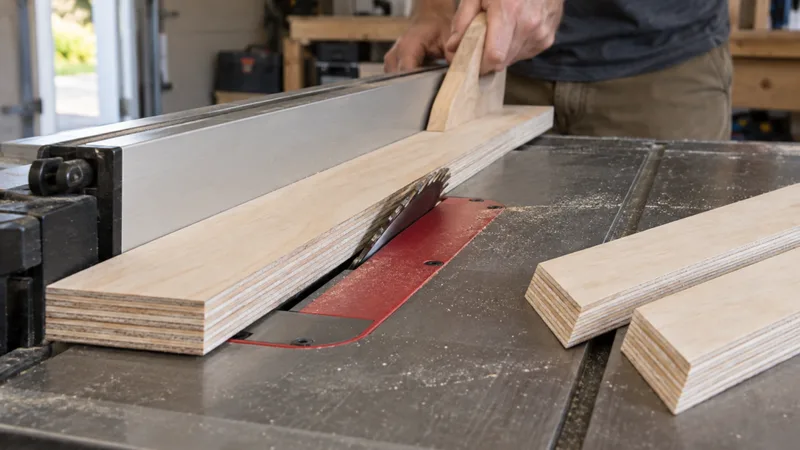
Rip the cleat pair first: two 4–6 in tall strips of 3/4 in plywood with a 45-degree bevel along one long edge — the wall strip mounts bevel-up, and every tool holder gets a short mating strip bevel-down. Gravity wedges the bevels together, so the joint tightens under load instead of working loose.
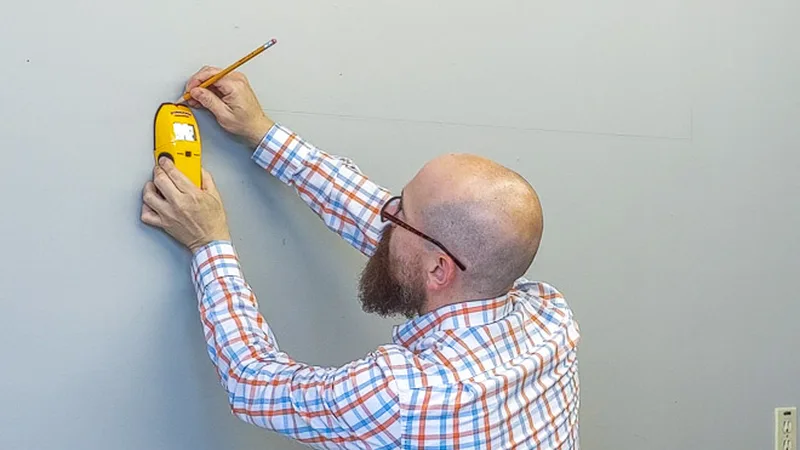
Map the wall before you drill: find studs with a knocker, confirm 16 in spacing, and draw a level line the full cleat length with a 4 ft level. A cleat that misses the studs is just decorative lumber — every 16 in of cleat needs a stud-backed screw.
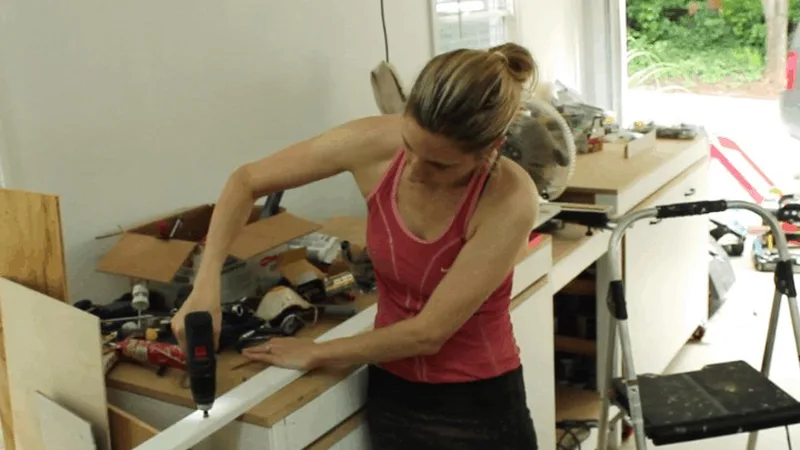
Screw the wall cleat into every stud with #10 or #12 structural screws (or 1/4 in lag bolts) at least 2-1/2 in long — two fasteners per stud, driven through the thick square edge, never through the bevel. This is the joint that carries the whole tool wall, so size it for the heaviest load you will ever hang, then double it.
Where studs do not land, bridge to drywall-only spans with snap toggles, not plastic plugs: drill 1/2 in holes every 12 in, set the channels flat behind the drywall, and torque the machine screws to the collar. Rate the toggle row for 1.5 times the planned load — cleats spread weight across anchors instead of concentrating it on one.
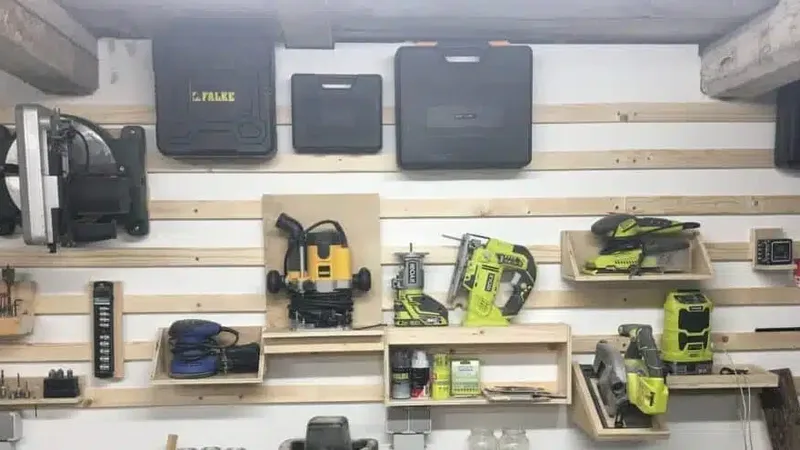
Drop each mating strip onto the wall cleat and pin it with one short safety screw driven up through the holder strip into the wall cleat. The bevel holds the weight; the safety screw stops holders walking off in earthquakes, slammed doors, and curious-kid incidents.
Load-test before you organize: hang your heaviest holder dead-center, tug it hard in every direction, and check the level line after 24 hours. Keep heavy tools over stud-backed screws, light accessories anywhere — then rearrange freely forever, because a cleat wall has no fixed holes to regret.